Over the last decade, artificial intelligence has quietly entered classrooms and learning apps, often framed as a smarter version of what already exists: automated grading, adaptive quizzes, or personalized recommendations. These improvements matter — but they barely scratch the surface of what AI can truly do.
The real transformation happens not in traditional learning environments but in project-based learning (PBL). When learners work on real-world challenges instead of answering fixed questions, the role of AI expands from being a tool to becoming a collaborator. The difference is dramatic, and it reshapes how learners think, create, and solve problems.

1. Traditional Learning: AI Acts Like a Tutor
In the traditional model, teaching is content-first, standardized, and built on linear pathways. Naturally, AI in this system ends up performing limited roles:
AI becomes a better version of existing tools
- Automated feedback
- Step-by-step explanations
- Practice generators
- Quiz adaptation
Useful, yes — but confined. Learners receive information. AI explains, clarifies, or tests. The interaction is shallow because the tasks are shallow.
Why AI can’t go further here
Traditional learning is:
- Textbook-based
- Quiz-driven
- Predetermined
- Memorization heavy
AI can optimize it, but it cannot transform it because the goals are fixed. The student’s job is to “get the right answer,” not to explore possibilities. AI becomes a helper.
But in project-based learning, everything shifts.
2. Project-Based Learning: AI Becomes a Thinking Partner
Project-based learning (PBL) is open-ended. There is no single correct answer, no pre-set solution, no script. Learners must plan, decide, iterate, and solve.
This is exactly where AI shines.
AI becomes a co-creator
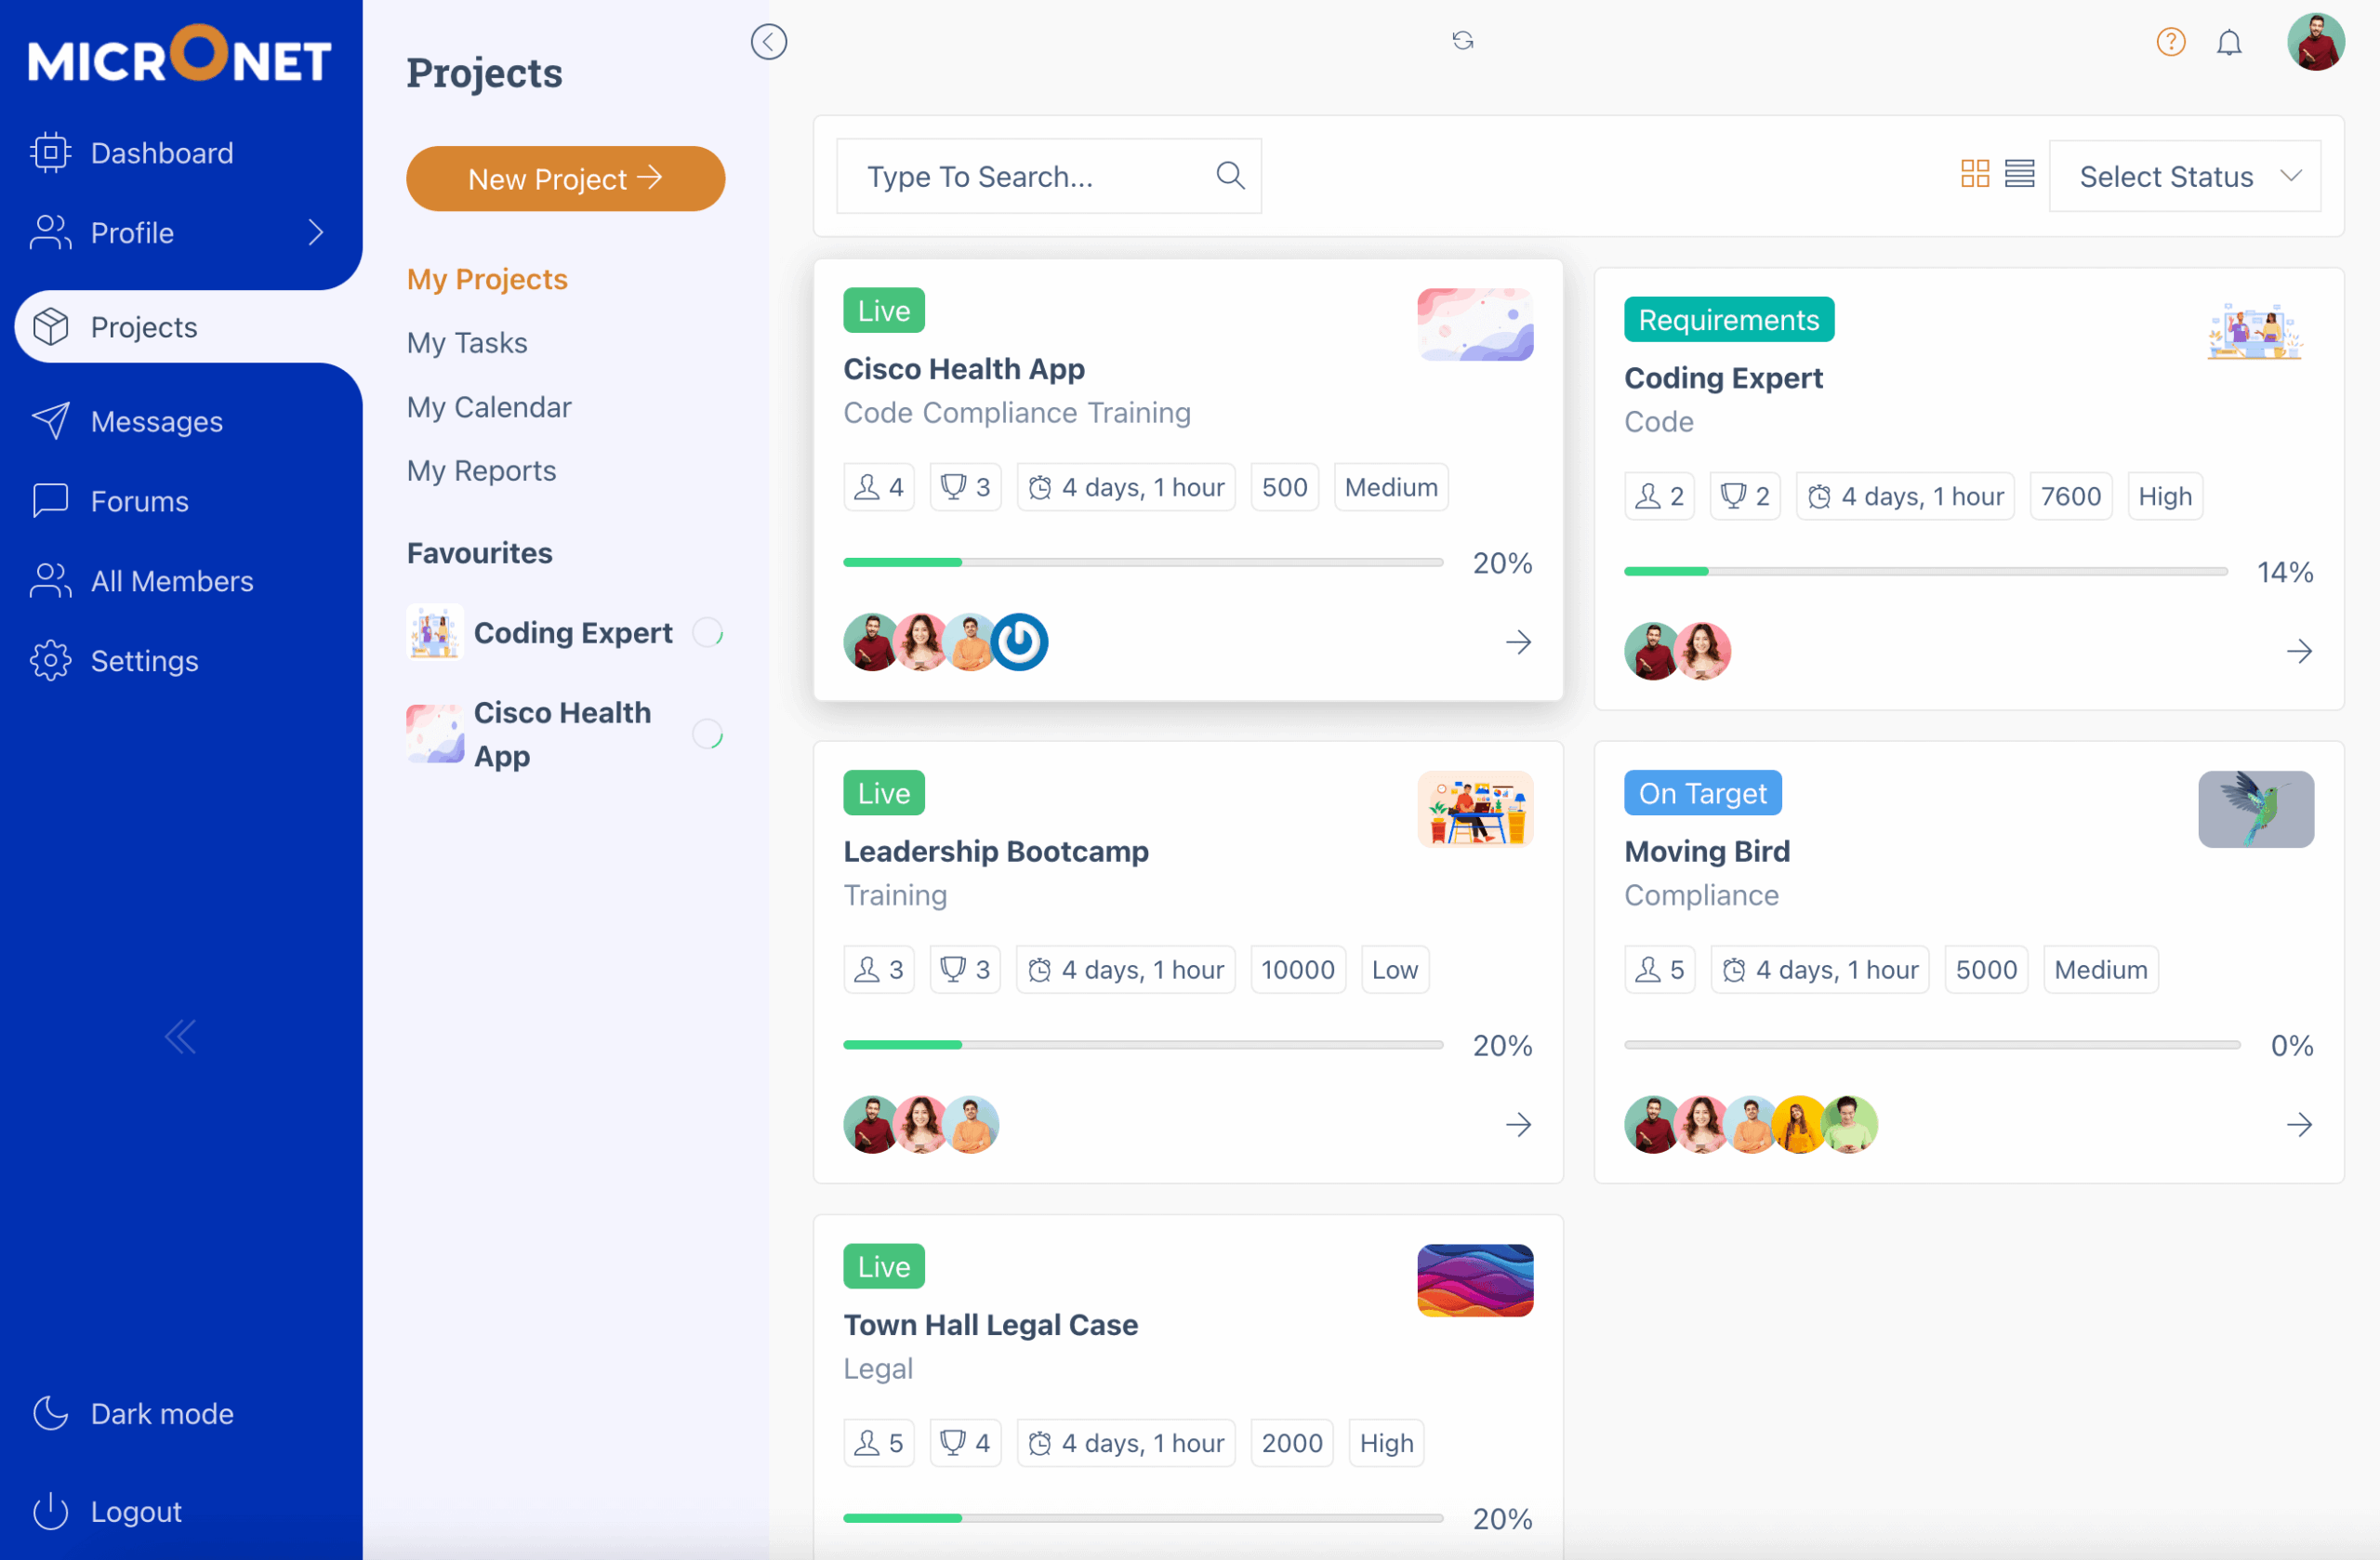
PBL tasks can include:
- Designing a prototype
- Building a community app
- Writing a short film
- Conducting data analysis
- Launching a mini business
Here, AI:
- brainstorms ideas
- challenges decisions
- generates alternate paths
- explains trade-offs
- creates artifacts (code, designs, plans)
- simulates outcomes
It works like a 24/7 project partner — not a tutor.
AI adapts to the learner’s goal, not the syllabus
Traditional learning:
AI optimizes the path the curriculum defines.
PBL:
The learner sets the goal, and AI adapts around them.
This inversion unlocks deeper creativity and ownership.
3. AI Changes the “What” and “How” of Learning in PBL
When AI enters a project environment, three major shifts appear:
a) Learners think bigger
Students can now build things they couldn’t before:
- websites
- bots
- data dashboards
- 3D designs
- video scripts
AI lowers the skill barrier, giving learners freedom to try.
b) Learners iterate faster
AI accelerates:
- planning
- drafting
- debugging
- reworking
Time spent “figuring out how” becomes time spent “figuring out why,”
which deepens conceptual understanding.
c) Learners develop real-world competencies
AI does not hinder thinking — it amplifies it:
- critical thinking
- decision making
- experimentation
- reflection
- communication
These skills don’t emerge in predictable, right-answer-based systems.
4. The Most Radical Shift: AI Makes Learning Personal
Traditional systems deliver the same path to every learner.
Project-based systems let AI build a custom path around each learner’s:
- interests
- prior experience
- personality
- preferred methods
- pace
- ambition
Instead of pacing the learner, AI adapts to their motivation — the single biggest predictor of long-term learning outcomes.
5. The Future: AI-Native Project-Based Learning
In PBL, AI evolves from “automation” to augmentation.
- Traditional learning → AI teaches.
- Project-based learning → AI collaborates.
This changes:
- what learners can achieve
- how fast they progress
- how creatively they think
- how deeply they understand
- how confident they become
PBL doesn’t just make AI useful.
It makes AI transformative.
Closing Thought
AI will not replace teachers — but it will redefine teaching.
And the environments where this happens first, fastest, and most powerfully are those where students work on real projects, not worksheets.
Traditional learning keeps AI in a box.
Project-based learning gives AI room to unleash its full potential — and gives learners the experience of creating things they once believed were impossible.
